Make any dinner special with Dairy Free Brazilian Cheese Breads, also known as Pão de Queijo. Naturally gluten free and grain free, the batter is made in the blender and is ready in minutes making it the perfect addition to weeknight meals.
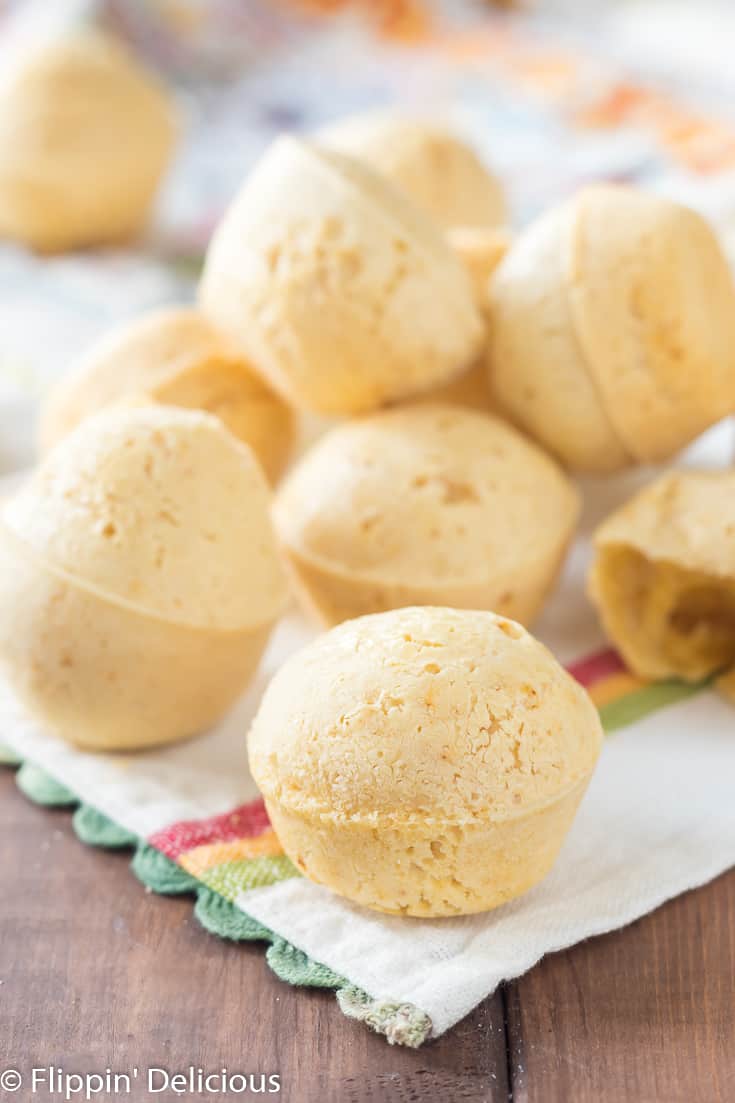
This dairy free Pão de Queijo recipe is SO easy!
Also known as Brazilian Cheese Bread, or Brazi Bites, they are naturally gluten-free and grain free because they are made with tapioca flour!
How do you make Brazilian Cheese Bread?
This recipe is super simple.
Add all the ingredients to your blender in order, and then blend until smooth.
You'll need (in this order):
- An Egg
- Oil (any neutral flavored oil ill or, I usually use vegetable, sunflower seed, or canola oil but you could also use avocado oil or coconut oil, or even olive oil.
- Dairy Free Milk of Choice, (I usually use unsweetened almond milk, coconut milk, or flax milk.)
- Tapioca Flour
- Salt
- Minced Garlic or garlic powder
- Onion Powder
- Nutritional Yeast Flakes
- Paprika
It takes less than 5 minutes!
You can also mix your batter in a bow.
First whisk together the dry ingredients, then adding the wet ingredients and mixing until you have a smooth batter.
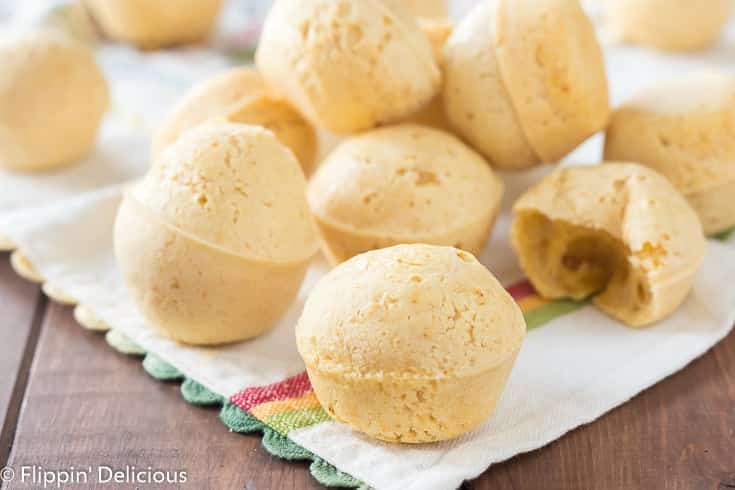
Pour the batter into a greased mini-muffin tin and bake it until the un-cheesy breads puff up and are golden.
There is a delicate crisp crust, with a chewy inside.
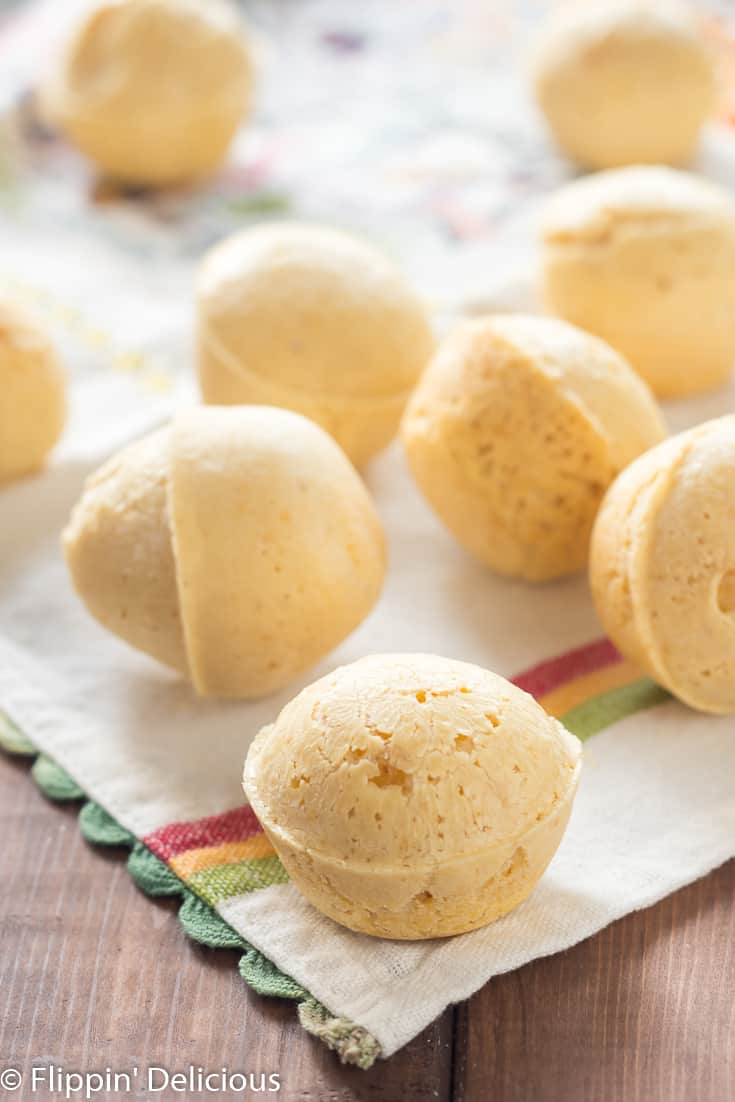
This recipe is also more budget friendly than traditional Brazilian cheese bread because cheese is the most expensive ingredient in them!
How to use gluten free flour
When baking with gluten free flour, your results will vary based on the gluten free flour you use.
Please read through my gluten free flour page for very thorough and detailed information about which gluten free flours work well, how to substitute one gluten free flour for another, and for my gluten free flour recipe.
How to measure gluten free flour
How you measure your gluten free flour is also very important.
To accurately measure your flour, use the “fork, spoon, knife” method.
First, mix your gluten free flour with a fork to ensure it is aerated and evenly mixed.
Then carefully spoon it into your measuring cup.
DO NOT scoop the flour with your measuring cup, you’ll compact extra flour into the measuring cup and then your gluten free baked goods will be dry and crumbly because they'll have too much flour.
Finally, level off your measuring cup using a knife.
Use room temperature ingredients
You’ll also have best results if all the ingredients are at room temperature, except for any ingredients that specify “cold” or “chilled”.
Using room temperature ingredients like eggs, butter, and gluten free flours helps your baked goods to bake evenly and correctly.
Think about it, if you use cold eggs, your batter will be colder.
And then it will change how it bakes, or may take longer.
For recipes that rise using steam, this is especially important.
What is tapioca flour? Is it the same as tapioca starch or cassava flour?
I do want to note, tapioca flour is different from the cassava flour all the paleo bloggers are using (even though tapioca is cassava).
This recipe won’t work with cassava flour!
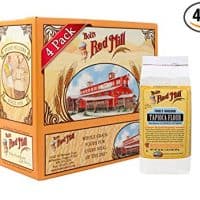
The tapioca flour is labeled interchangeably as tapioca starch, and often has both tapioca flour and tapioca starch on the package.
I’ve used Bob’s Red Mill Tapioca Starch, and also tapioca flour from my local international food store (it is in the Asian section, by the rice flours).
If you have celiac, or are making this recipe for someone who is, be wary of using the flour from your international store since it is difficult to track it’s processing and packaging to ensure it it truly gluten-free.
My good friend Kristi first introduced me to Brazilian cheese breads.
She is the kind of person who randomly stops by unannounced with a plate of monster cookies or a bag of homemade caramel popcorn (I love that about her).
Kristi is my favorite kind of person.
I try to be the person who pops over with warm giant gluten free chocolate chip cookies in hand, just like her.
I’m eternally indebted to Kristi for introducing me to Pão de Queijo.
It was a recipe that she often made for her family because her husband had lived in Brazil for a while, and since it was made with tapioca flour and was naturally gluten free, she could share it with me too!
About two years ago my toddler started having problems with dairy.
About the same time my family went dairy-free, we started having regular Sunday dinners with Kristi’s family.
My sister’s family would often come too. Some Sundays we’d have eighteen people or more!
I’d usually bring dessert, since it is the trickiest thing to make gluten free and dairy free. Gluten Free Vegan Chocolate Pie was one of my go-to desserts, everyone loved it!
Kristi would make a Brazilian-inspired meal of beans and rice, topped with bacon and fresh tomatoes.
It was an easy and budget-friendly way to feed our entire crowd. It may sound simple, but Kristi makes the best beans and rice I’ve ever had!
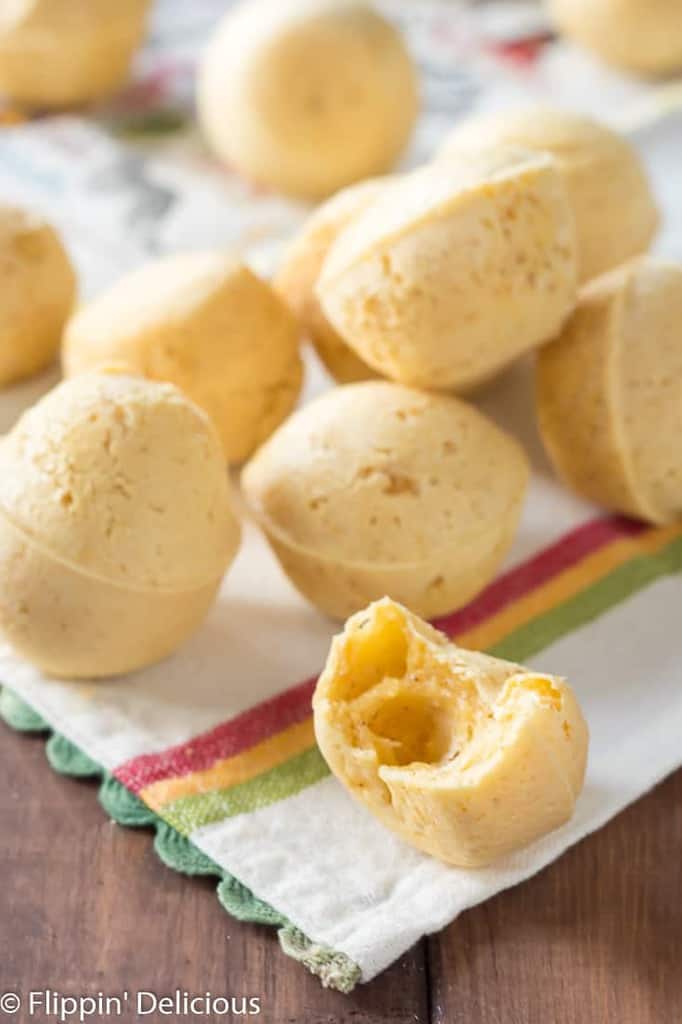
She would also make a big batch of Pão de Queijo.
Over the past year, I’ve worked on perfecting my dairy free Brazilian cheese breads recipe, so that my daughter could enjoy some Pão de Queijo too.
Now when we gather for Sunday dinner, I’ll make a big batch of dairy free Pão de Queijo.
I can never make enough! It always disappears quickly, with someone fighting over the last roll.
📖 Recipe
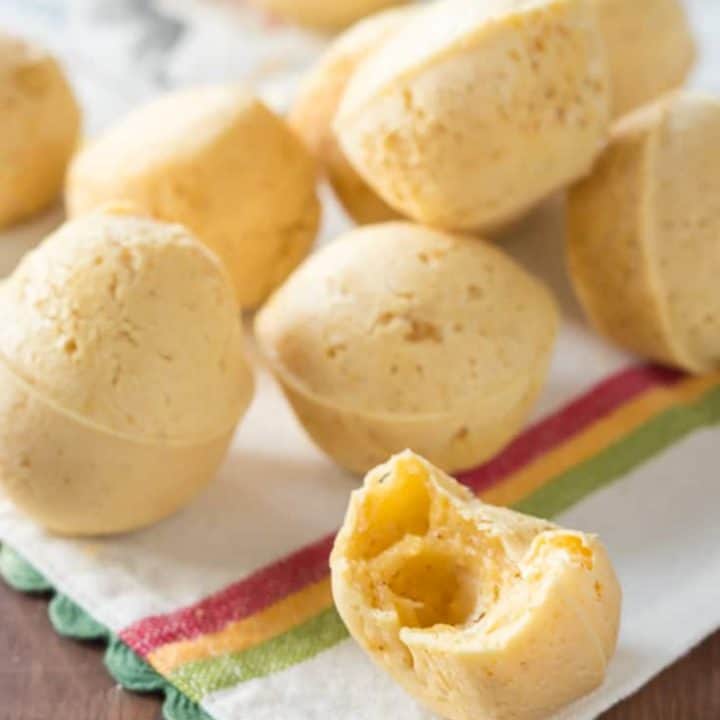
Dairy Free Brazilian Cheese Breads
Pão de Queijo (also known as Brazilian Cheese Bread) made dairy free! This super easy recipe is made in the blender, and baked using a mini muffin tin!
Ingredients
- 1 Egg
- ⅓ cup Oil
- ⅔ cup Dairy Free Milk of Choice, (I usually use almond milk or flax milk.)
- 1 ½ cups Tapioca Flour
- 1 teaspoon Salt
- 1 teaspoon Minced Garlic, or 1 teaspoon garlic powder
- 1 teaspoon Onion Powder
- 1 tablespoon Nutritional Yeast Flakes
- ½ teaspoon Paprika
Instructions
- Preheat the oven to 400°F and lightly grease the indentations of a mini muffin pan with cooking spray.
- Add all of the ingredients to your blender, in the order given.
- Blend on low speed until smooth. You may need to scrape down the sides and blend again to incorporate any tapioca flour that sticks to the sides.
- Divide the batter evenly between the 24 compartments of your mini muffin pan. Each muffin will be nearly full.
- Bake for 14-16 minutes or until the Pão de Queijo are puffed, crisp, and barely golden. If you under-bake them they will deflate when they come out of the oven.
- Cool slightly and enjoy.
Notes
- I often double this recipe.
- These Pão de Queijo can also be baked in a regular muffin pan, but the cooking time will need to be extended. Fill each muffin about ¾ full and bake for 18-22 minutes, or until the tops are crisp.
Recommended Products
As an Amazon Associate and member of other affiliate programs, I earn from qualifying purchases.
Nutrition Information
Yield 24 Serving Size 1Amount Per Serving Calories 63Total Fat 3gSaturated Fat 0gTrans Fat 0gUnsaturated Fat 3gCholesterol 8mgSodium 95mgCarbohydrates 7gFiber 0gSugar 0gProtein 1g
All nutrition info is a guestimate and will vary depending on the ingredients you use.

