Sweet 4 or 6 layer gluten free rainbow cake with buttery frosting, perfect for a kid's birthday or any fun celebration. What is more fun than a bright colored cake that everyone can eat?
Photos updated February 2016
I love baking cakes for birthdays and other occasions.
Gorgeous layer cakes like this gluten free rainbow layer cake don't need to be daunting or scary.
It just takes a few extra steps from a single layer cake, and as long as you aren't doing tiers it is a cinch to stack them.
How do you make a rainbow layer cake gluten free?
with an easy, tender, gluten free cake recipe, making a rainbow layer cake is a cinch.
First, make your batter.
In a stand mixer, or a large bowl with heavy-duty electric beaters, beat the sugar and oil until creamy.
Add the eggs one at a time, and then add the vanilla and beat until light and fluffy.
In a separate bowl whisk together the gluten-free flour, xanthan gum, baking soda, and salt.
Add the flour mixture to the sugar mixture in 3 additions, alternating with the buttermilk, beginning and ending with the flour mixture.
Mix until the batter is smooth.
Then, divide your batter evenly between smaller bowls, one for each layer.
If you are baking a 9 inch 4 layer cake, you'll need 4 bowls. If you are doing a 6 inch 6 layer cake, you'll need 6 bowls.
Tint each bowl of gluten free cake batter a different color using gel food coloring.
Then grease your cake pans and line the bottom of each cake pan with a circle of parchment paper (this makes them easier to remove later.)
Pour the batter into the prepared pans and bake 2 at a time for about 15-17 minutes or until a toothpick comes out clean.
How to use gluten free flour
When baking with gluten free flour, your results will vary based on the gluten free flour you use.
I used my gluten-free cake flour/rice flour blend originally but I have since fallen in love with Gluten Free Mama's Almond Flour.
It gives cakes the perfect (almost springy) texture and my gluten-eating extended family has given rave reviews of the cakes I have made with GF Mama's Flour.
Please read through my gluten free flour page for very thorough and detailed information about which gluten free flours work well, how to substitute one gluten free flour for another, and for my gluten free flour recipe.
How to measure gluten free flour
How you measure your gluten free flour is also very important.
To accurately measure your flour, use the “fork, spoon, knife” method.
First, mix your gluten free flour with a fork to ensure it is aerated and evenly mixed.
Then carefully spoon it into your measuring cup.
DO NOT scoop the flour with your measuring cup, you’ll compact extra flour into the measuring cup and then your gluten free baked goods will be dry and crumbly because they'll have too much flour.
Finally, level off your measuring cup using a knife.
Use room temperature ingredients
You’ll also have best results if all the ingredients are at room temperature, except for any ingredients that specify “cold” or “chilled”.
Using room temperature ingredients like eggs, butter, and gluten free flours helps your baked goods to bake evenly and correctly.
Think about it, if you use cold eggs, your batter will be colder.
And then it will change how it bakes, or may take longer.
For recipes that rise using steam, this is especially important.
How do you stack a 4 layer gluten free rainbow cake?
As long as your layers are cool you really just stack them on top of each other with a generous layer of frosting in between.
I've found that chilled or slightly frozen cakes are even easier to work with!
Place the first cake layer down on your serving plate and spread about 1 ½ cups of frosting on top.
Stack the next layer on top, and spread it with more frosting.
And repeat until you have a stack of 4 layers of cake with 3 layers of frosting.
Then spread the remaining frosting on the top and outside of the cake, and decorate it ith sprinkles or frosting designs.
If you want a photo tutorial to see my tips for stacking cake check out my Gluten Free Red Velvet Recipe.
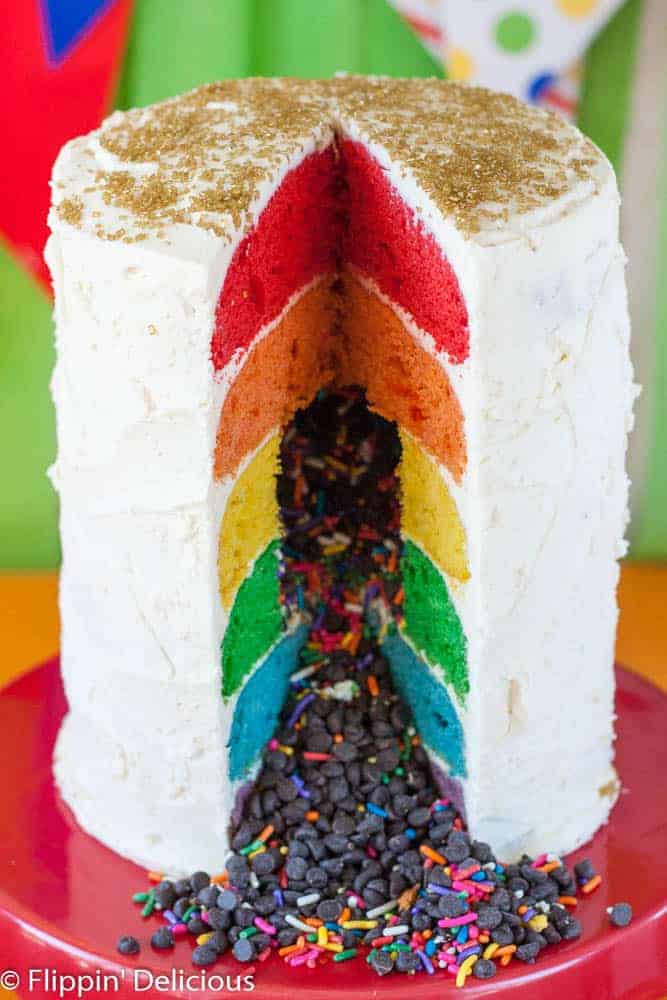
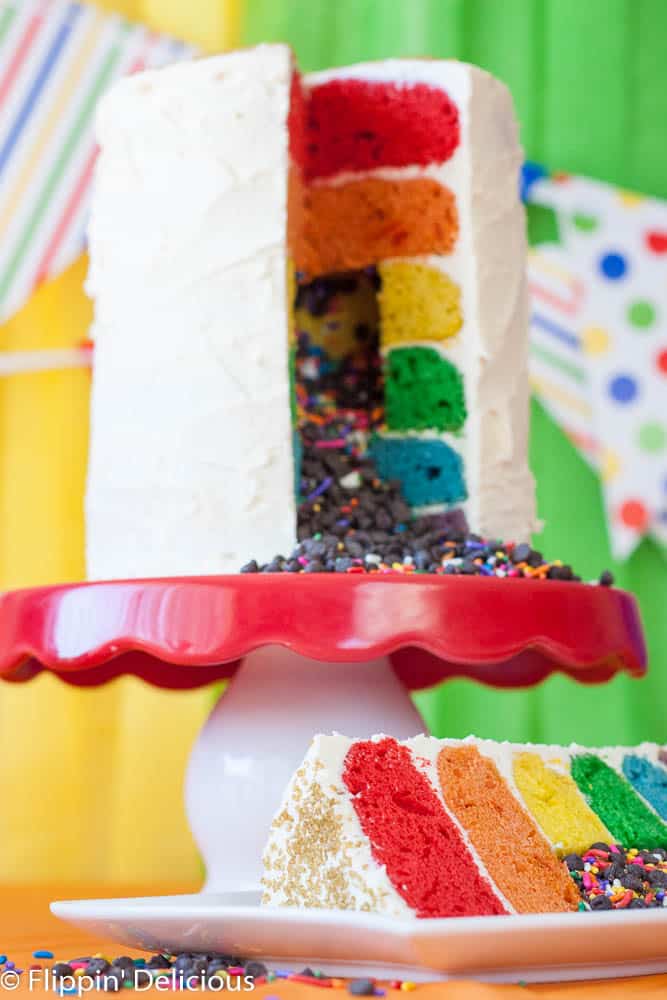
How do you make a piñata cake?
Turning your cake into a pinata cake is a cinch!
Just use a round cookie cutter to cut a hole out of the middle 2 layers of the cake.
As you layer up the cake, fill the hole with chocolate chips, sprinkles, candy, or whatever you want to explode out of your cake.
Cutting into it is a blast, especially if your guests aren't expecting it.
I made this gluten free rainbow layer cake for my daughter's birthday one year.
And I've made it for many gluten free parties and celebrations since.
It has become one of our favorite gluten free cakes.
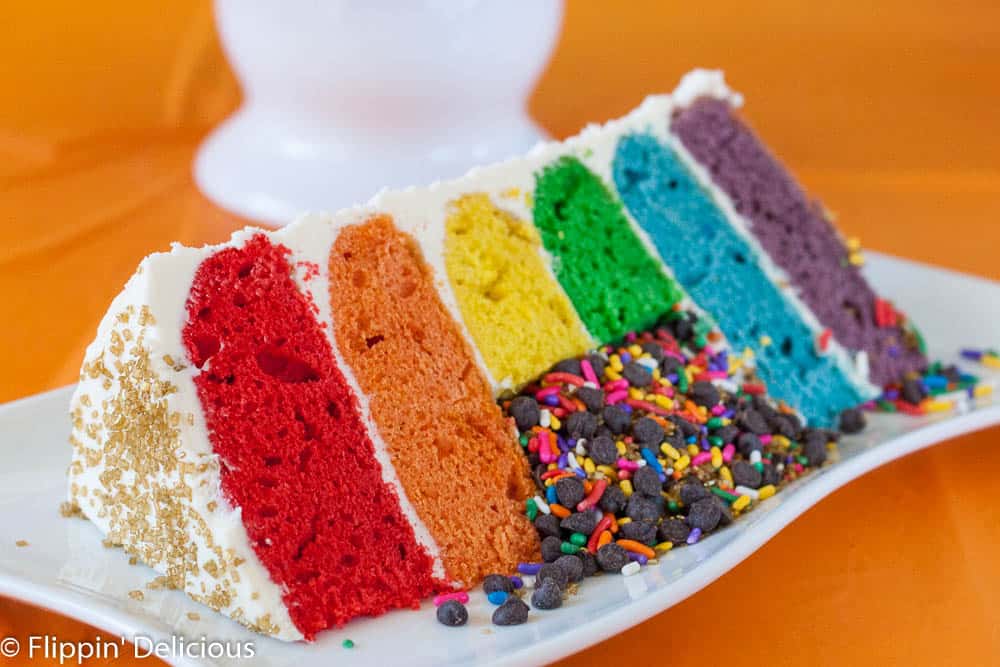
You can make any color that you want!
Do ombre, all the same color, alternate two colors, or do a rainbow like I did. Whatever floats your boat.
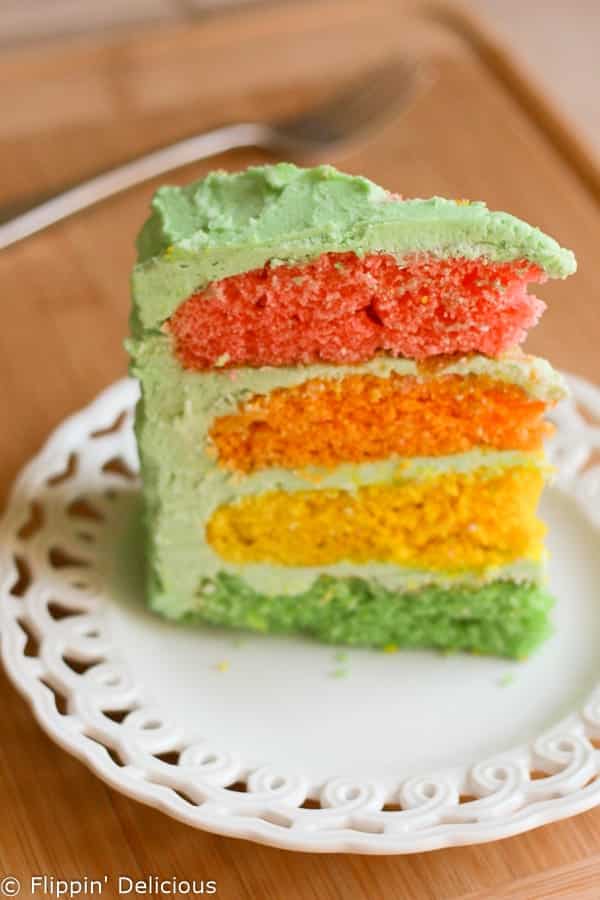
This gluten free rainbow layer cake would also be a colorful treat to celebrate St. Patrick's Day.
You could also try a green ombre for St. Patty's Day.
Every year I see so many bright rainbow desserts. All you need is the pot of gold!
If you are looking for another colorful cake recipe, I think you'll love this Gluten Free Funfetti Cake from my friend Sharon (she blogs at What the Fork Food Blog.) It is almost too pretty to eat!
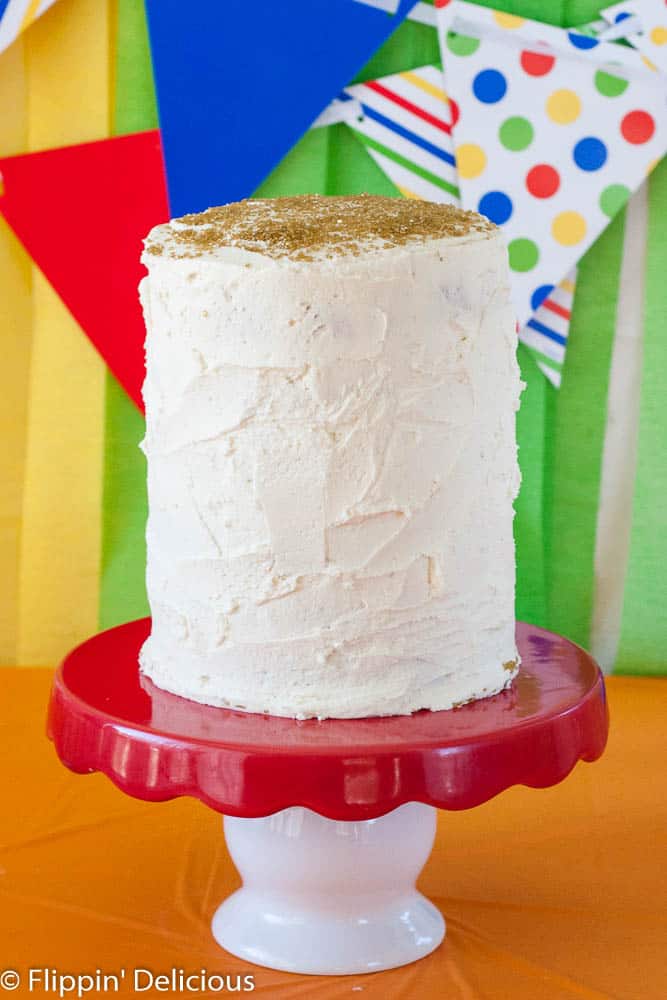
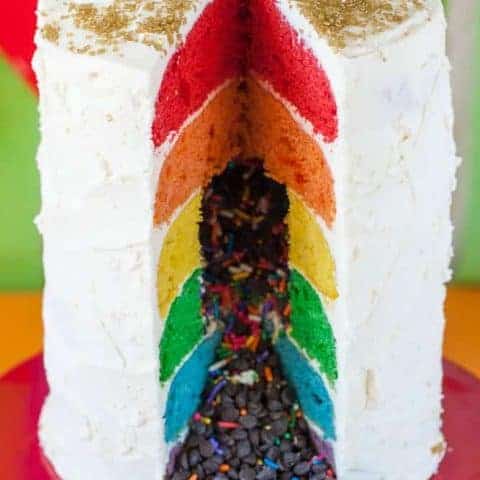
I baked the dairy free version of this gluten free rainbow layer cake for a dairy free chocolate and sprinkles themed party.
With the gold sugar sprinkles on top it was perfect for St. Patrick's Day.
I LOVE buttercream frosting, and so I love that this cake has such a generous schmear of it. If frosting isn't your thing just use less of it.
With all the frosting, not to mention the 4 layers of cake, the finished cake was very rich. Even us grown-ups only needed a tiny slice!
📖 Recipe
Gluten-Free Rainbow Layer Cake
What is more fun than a bright colored cake that everyone can eat? Sweet gluten-free rainbow layer cake with buttery frosting, perfect for a kid's birthday or any fun celebration.
Ingredients
For the Cake
- 2 cups granulated sugar
- 1 cup vegetable oil
- 4 eggs
- 2 teaspoons vanilla extract
- 3 ¾ cups gluten-free (my favorite blend for cakes is url href="https://amzn.to/1oKmoyk" target="_blank" rel="nofollow"]Gluten Free Mama's Almond Blend[/url. I also get good results withmy cake and cookie blend
- 1 teaspoon xanthan gum (omit if your blend already has it)
- ¾ teaspoon baking soda
- ½ teaspoon salt
- 1 ½ cups buttermilk (I used 1 ½ cups milk with about 2 teaspoons of white or apple cider vinegar. Use your favorite dairy-free milk to make the cake dairy-free.)
- Food coloring
- 1 recipe American Buttercream
Instructions
- Preheat the oven to 350F. Lightly grease 4 9inch round baking pans (or 6, 6 inch round baking pans) and line the bottom with a circle of parchment paper. (I baked my cakes in batches, 2 at a time since that is how many cake pans I have.)
- In a stand mixer, or a large bowl with heavy-duty electric beaters, beat the sugar and oil until creamy.
- Add the eggs one at a time, and then add the vanilla and beat until light and fluffy.
- In a separate bowl whisk together the gluten-free flour, xanthan gum, baking soda, and salt. Add Add the flour mixture to the sugar mixture in 3 additions, alternating with the buttermilk, beginning and ending with the flour mixture. Mix until the batter is smooth.
- Divide the batter evenly between 4 (or 6) bowls and color each bowl of batter the desired color using the food coloring.
- Pour the batter into the prepared pans and bake 2 at a time for about 15-17 minutes or until a toothpick comes out clean.
- Spread about 1 ½ cups of frosting between each layer and frost the outside with the remaining frosting.
Notes
To make the cake dairy-free use non-dairy milk (I have used soy, and almond) and mix with vinegar to make buttermilk.
Be sure to frost with dairy-free buttercream frosting too.
Nutrition Information
Yield 16 Serving Size 1Amount Per Serving Calories 337Total Fat 19gSaturated Fat 3gTrans Fat 0gUnsaturated Fat 16gCholesterol 62mgSodium 243mgCarbohydrates 39gFiber 0gSugar 36gProtein 3g
All nutrition info is a guestimate and will vary depending on the ingredients you use.